
If you’ve ever scrolled through social media and instantly stopped at a post, chances are it wasn’t just the image, it was the text overlay that grabbed your attention.
Text overlays are one of the most powerful (and underrated) tools in content creation. Whether you're a blogger, affiliate marketer, or brand, adding the right text to your images can boost engagement, improve click-through rates and make your content instantly recognizable.
But here’s the catch: poorly designed text overlays can do the opposite, they can make your content look cluttered, unprofessional, or easy to ignore.
So how do you get it right?
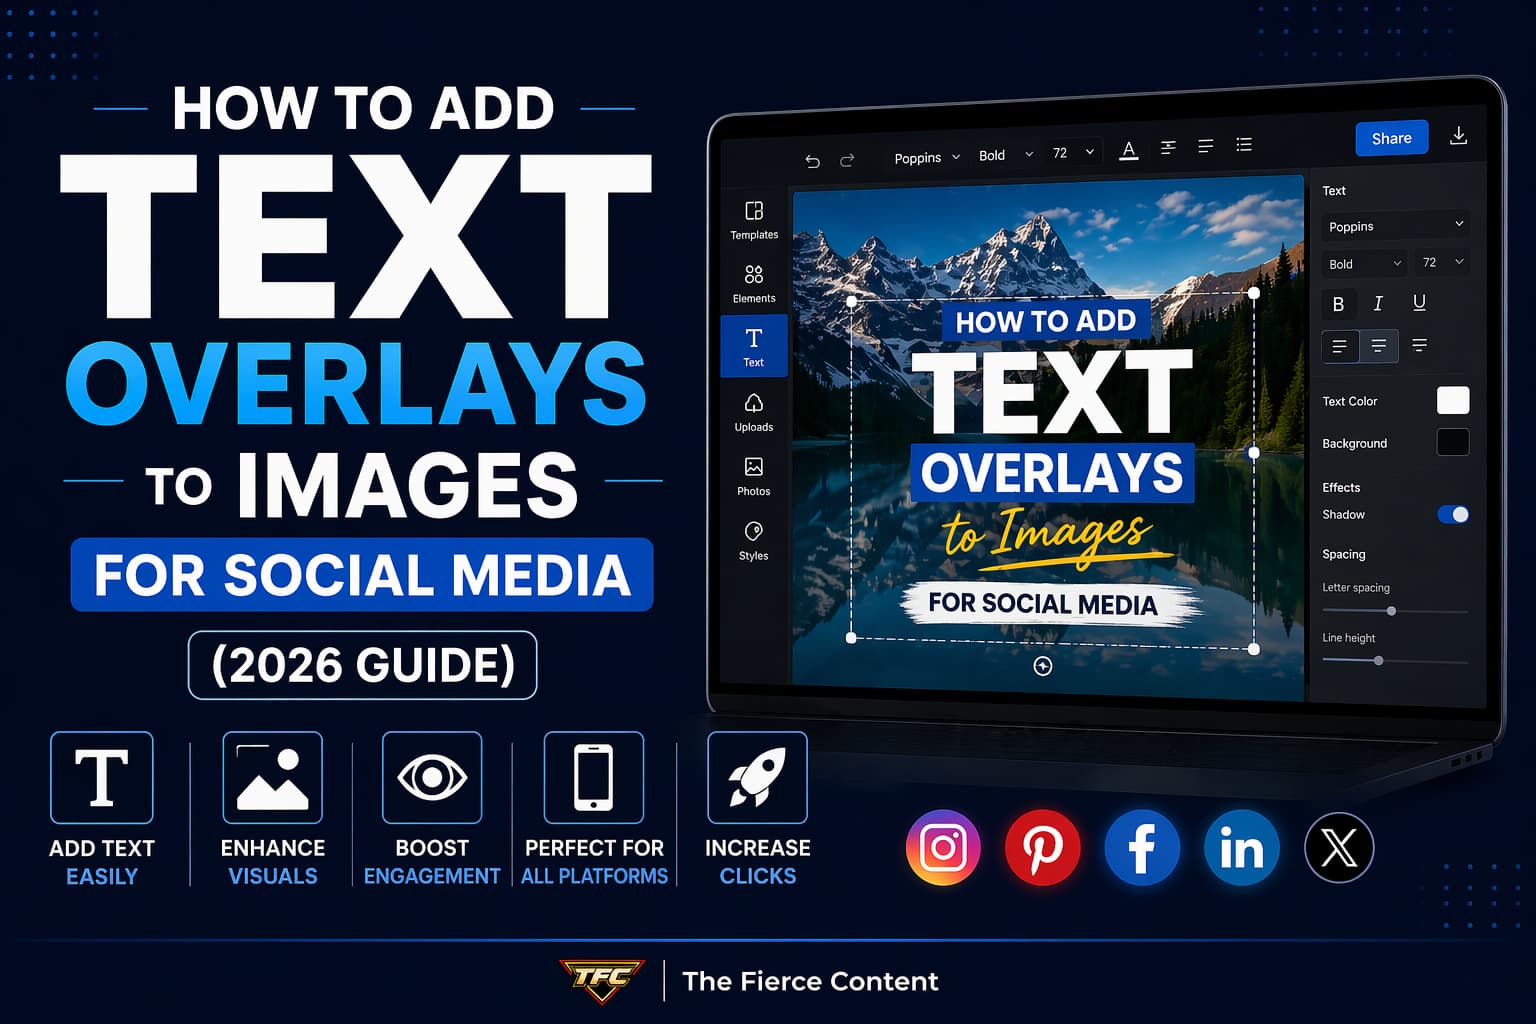
In this blog post, you’ll learn exactly how to add text overlays to images for social media, step by step, with tools, design principles and strategies that actually work in 2026.
Why Text Overlays Matter More Than Ever on Social Media
Let’s start with the big picture.
Social media is crowded.
Every day, millions of images compete for attention across platforms like Instagram, Pinterest, Facebook, and LinkedIn.
If your image doesn’t communicate value within seconds, it gets ignored.
This is where text overlays come in.
Text overlays help you deliver your message instantly, without relying on captions.
Think about it: users often scroll quickly and don’t read full captions unless something stops them first. Your image and specifically your text overlay, is that stopping point.
For bloggers and affiliate marketers, this is critical.
A well-designed text overlay can:
Highlight the benefit of your content (e.g., “10 Tools That Save You Hours”)
Create curiosity (“You’re Doing This Wrong…”)
Reinforce branding (consistent fonts, colors, tone)
Improve click-through rates on platforms like Pinterest Beyond visibility, text overlays also help with content clarity. Instead of guessing what your image represents, your audience knows immediately what they’ll gain.
And in 2026, with AI-generated visuals becoming more common, clear messaging is what differentiates your content.
If you’re not using text overlays strategically, you’re leaving traffic, engagement and conversions on the table.
Choosing the Right Tools to Add Text Overlays
Before you dive into design, you need the right tools.
The good news? You don’t need expensive software to create professional overlays.
Let’s break down your best options.
Beginner-Friendly Tools
If you’re just starting out, tools like Canva are ideal.
Canva makes it incredibly easy to add text overlays with drag-and-drop simplicity. You can choose from pre-designed templates, customize fonts, and adjust spacing all without any design experience.
These tools are perfect for:
Blog featured images
Pinterest pins Instagram posts
They also include built-in font pairings and layout suggestions, which saves you time and avoids design mistakes.
Intermediate Tools
If you want more flexibility, tools like Pixlr or Fotor offer a balance between simplicity and control.
You can work with layers, adjust opacity and apply effects like shadows or gradients to your text.
These tools are great when you want your overlays to feel more custom and less template-based.
Advanced Tools For full creative control
Photoshop is still the gold standard.
It allows you to: Use advanced typography settings
Apply precise spacing and alignment
Create complex overlays with textures and effects
However, it comes with a learning curve.
If your goal is speed and consistency (especially for blogging), simpler tools may actually be more efficient.
Key Takeaway Don’t overcomplicate this.
The best tool is the one that helps you create consistent, high-quality overlays quickly.
For most bloggers and affiliate marketers, that’s going to be a tool like Canva.
The Fundamentals of Great Text Overlay Design
To be honest, adding text to an image is easy.
Adding good text to an image? That’s where most people struggle.
Great text overlay design isn’t about creativity alone, it’s about clarity, hierarchy, and readability.
Keep It Short and Clear
Your text should be instantly readable.
Avoid long sentences. Instead, focus on:
Headlines Key benefits
Power phrases For example:
“Here are some tools that might help you edit images better”
“Best Image Editing Tools”
Short text is easier to read, especially on mobile devices which is where most users will see your content.
Use Strong Visual Hierarchy
Not all text should be equal.
Your main message should stand out the most, followed by supporting text.
You can create hierarchy using:
Font size
Font weight (bold vs regular)
Color contrast For example:
Large bold headline
Smaller subtitle underneath
This guides the viewer’s eye and makes your message easier to process.
Choose the Right Fonts (Why Poppins Works So Well)
Font choice can make or break your design.
Clean, modern fonts like Poppins work exceptionally well for social media because they are:
Easy to read Professional-looking Versatile across different styles
Avoid overly decorative fonts unless they match your brand.
A good rule of thumb:
Use one font for headlines Use one font for supporting text
Too many fonts create visual chaos.
Contrast Is Everything
If your text blends into the background, it’s useless.
Make sure your text stands out by:
Using contrasting colors (e.g., white text on dark background)
Adding overlays (dark gradients behind text)
Using shadows or outlines
This is especially important for platforms like Instagram, where users scroll quickly.
Positioning Matters
Where you place your text affects how it’s perceived.
Best practices:
Keep text away from edges
Use negative space (empty areas)
Align text consistently (centered or left-aligned)
Also, consider platform cropping.
For example, Instagram may crop your image differently than Pinterest.
Step-by-Step: How to Add Text Overlays (Beginner-Friendly Workflow)
Now let’s walk through a simple process you can follow every time.
Step 1:
Choose Your Image Start with a high-quality image that matches your message.
Avoid cluttered backgrounds. Simpler images make text easier to read.
Step 2:
Upload to Your Tool Use your preferred tool (like Canva) and upload your image.
Choose the correct dimensions for your platform:
Instagram: 1080 x 1080 Pinterest: 1000 x 1500 Blog featured image: 1200 x 628
Step 3:
Add Your Text Insert your headline first.
Focus on:
Clarity Impact Relevance Then add supporting text if needed.
Step 4:
Style Your Text Adjust: Font (Poppins recommended)
Size
Color
Spacing
Make sure your text is readable on both desktop and mobile.
Step 5:
Add Background Enhancements If needed,
improve readability by: Adding a semi-transparent overlay Using a gradient Blurring part of the background
Step 6:
Align and Balance Position your text so it feels balanced.
Check spacing, alignment, and overall composition.
Step 7:
Export in High Quality
Export your image in PNG or high-quality JPG.
Make sure it’s optimized for web use to avoid slowing down your site.
Platform-Specific Tips for Better Results
Not all platforms work the same.
Instagram Keep text minimal Focus on bold, eye-catching headlines Ensure readability on small screens
Pinterest Use vertical images
Add clear, descriptive text Include keywords in your overlay
Facebook & LinkedIn Keep designs clean and professional
Avoid too much text
Focus on clarity and value
Each platform has its own behavior.
The key is to adapt your overlays without losing brand consistency.
Common Mistakes to Avoid (And What to Do Instead)
Let’s fix what most people get wrong.
Mistake 1:
Too Much Text Fix:
Keep it short and focused.
Mistake 2:
Poor Contrast Fix: Use overlays, shadows, or contrasting colors.
Mistake 3:
Inconsistent Branding Fix: Use the same fonts, colors, and style across all images.
Mistake 4:
Ignoring Mobile Users
Fix: Test your designs on smaller screens.
Mistake 5:
Overdesigning Fix: Simplicity wins. Clean designs perform better.
How Text Overlays Boost Engagement and Conversions
Let’s connect this to results.
Text overlays don’t just make your images look better, they drive real performance.
They:
Increase click-through rates
Improve content clarity
Reinforce brand identity
Help your posts stand out
For affiliate marketers, this can directly impact sales and commissions.
For bloggers, it means more traffic and longer engagement.
When done right, text overlays turn your images into conversion tools.
Conclusion:
Keep It Simple, Consistent, and Strategic
Here’s the truth: you don’t need to be a designer to create great text overlays.
You just need:
The right tools
A clear message
Consistent design principles
Focus on clarity over complexity.
Keep your designs clean, readable and aligned with your brand (like using Poppins font and your blog branding).
Over time, your audience will start to recognize your style and that’s when your content becomes truly powerful.